
Check out the blogs! they are full of helpful tips and resources for you to use in your next creative venture. Be sure to subscribe so that you have the most current content!
How to Make PRO Acoustic Panels
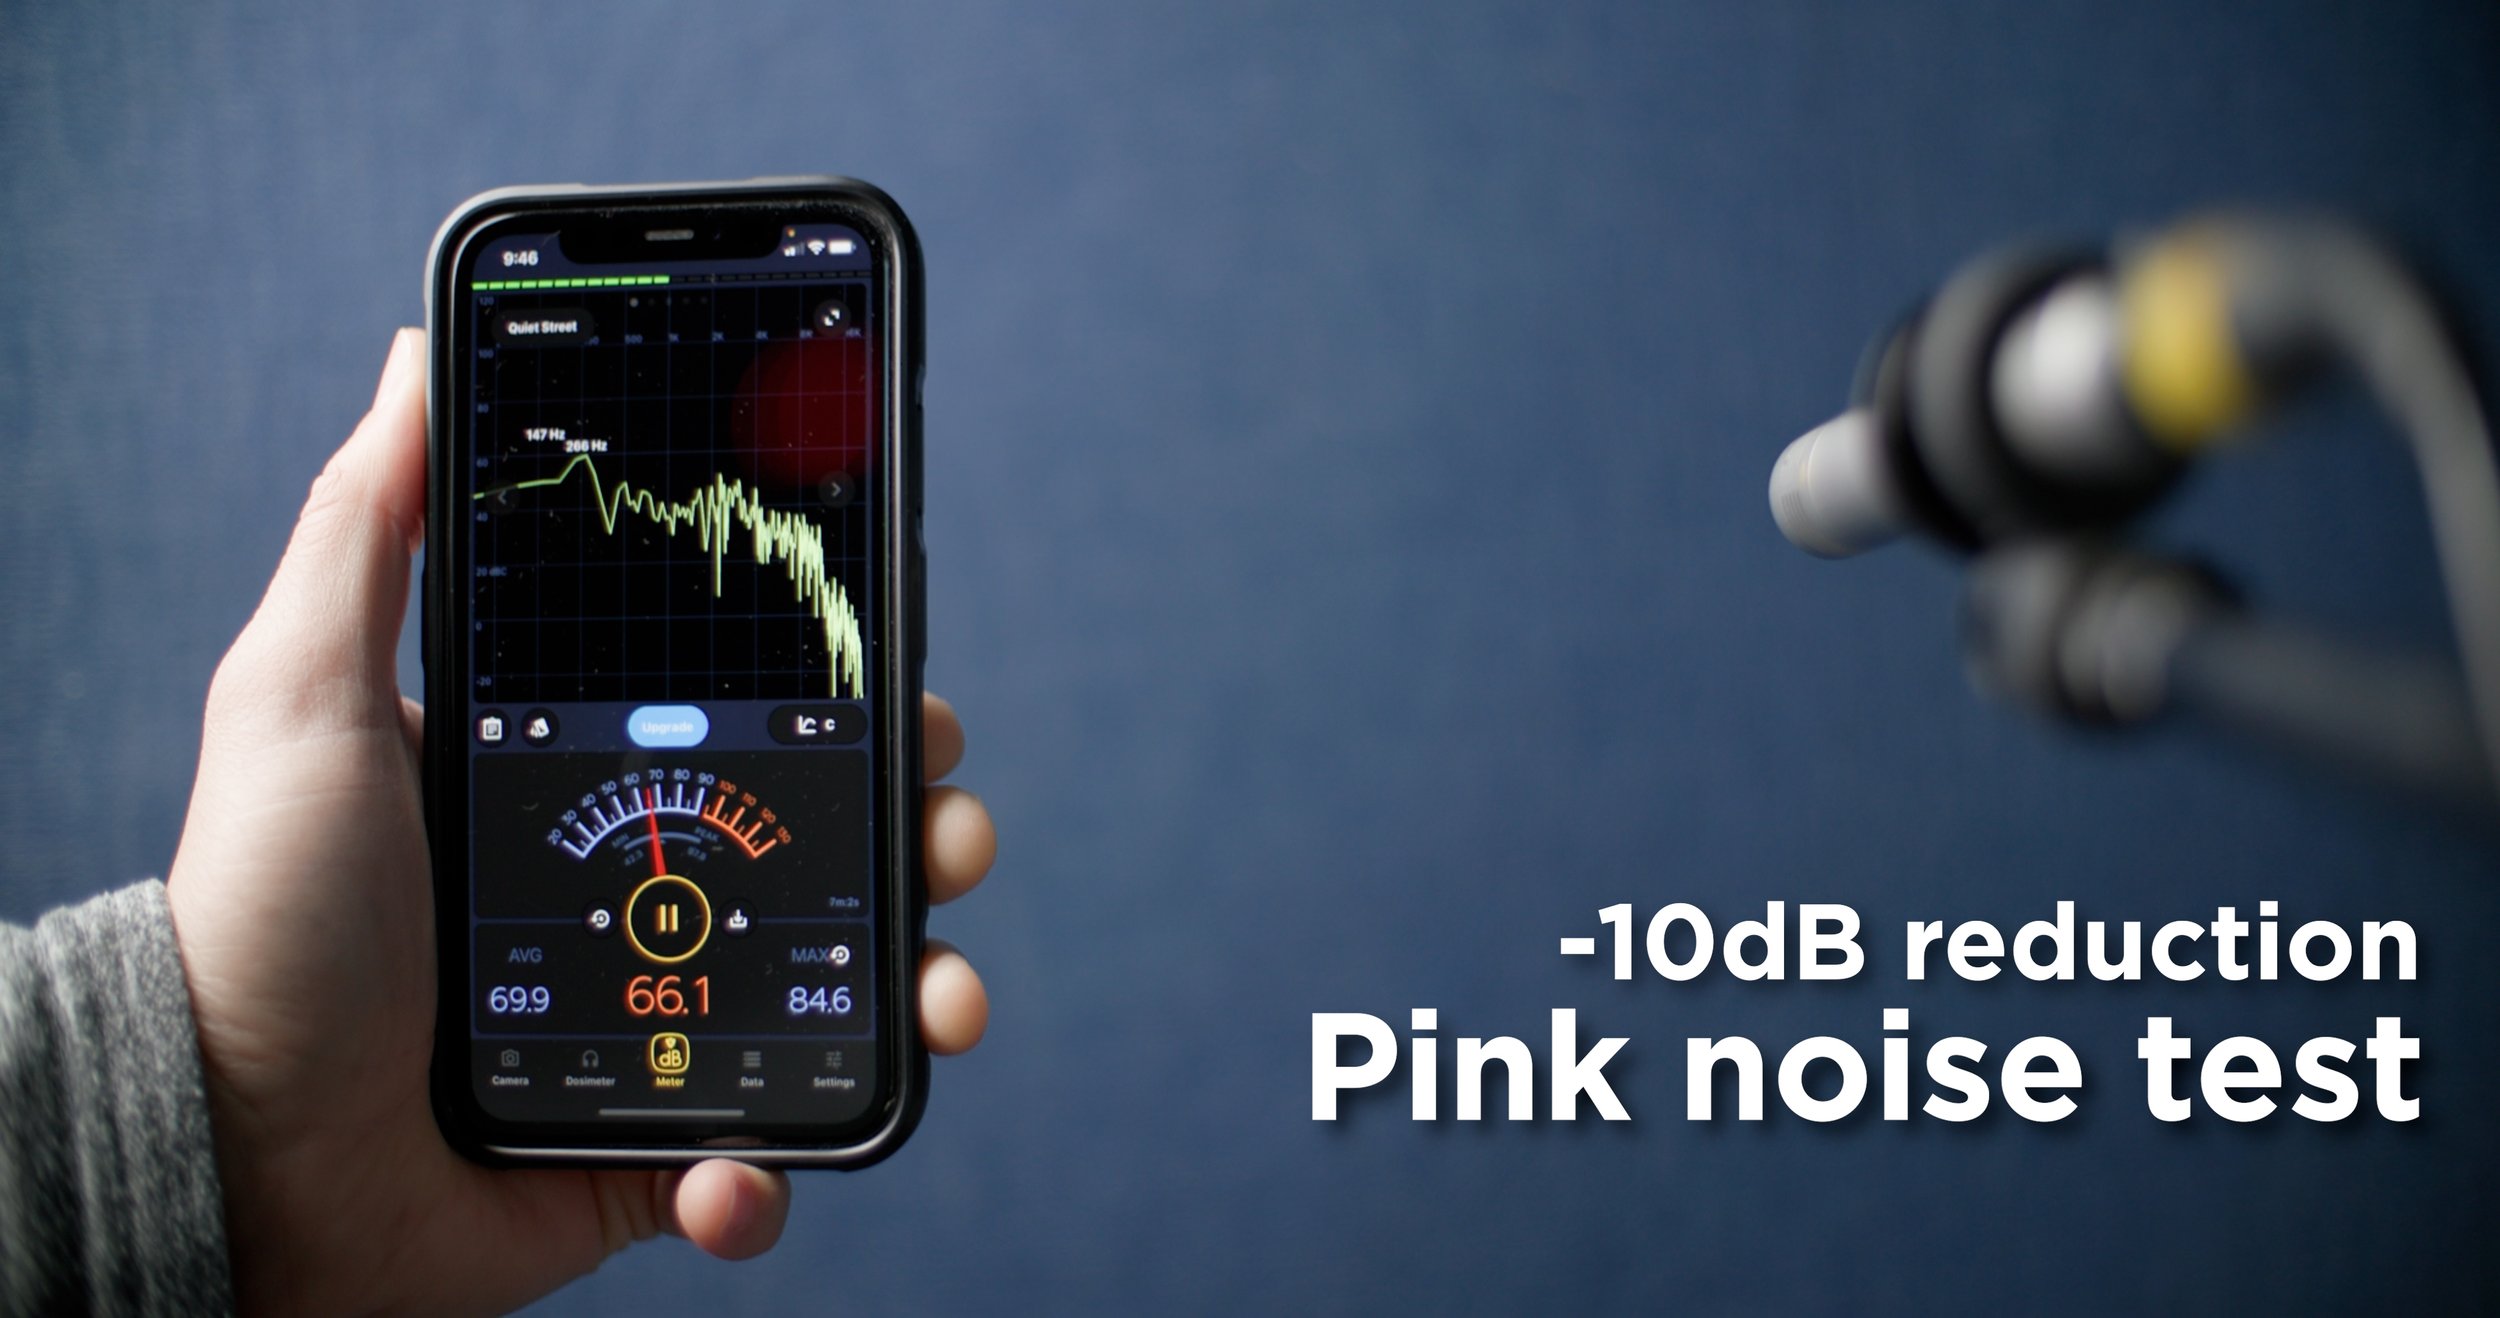
Sound panels are the best way to treat a space for audio. Whether you’re planning to record a podcast, make videos for youtube, or record music in your home studio, sound treatment is the first thing that you’ll want to do in order to have the audio recording possible.
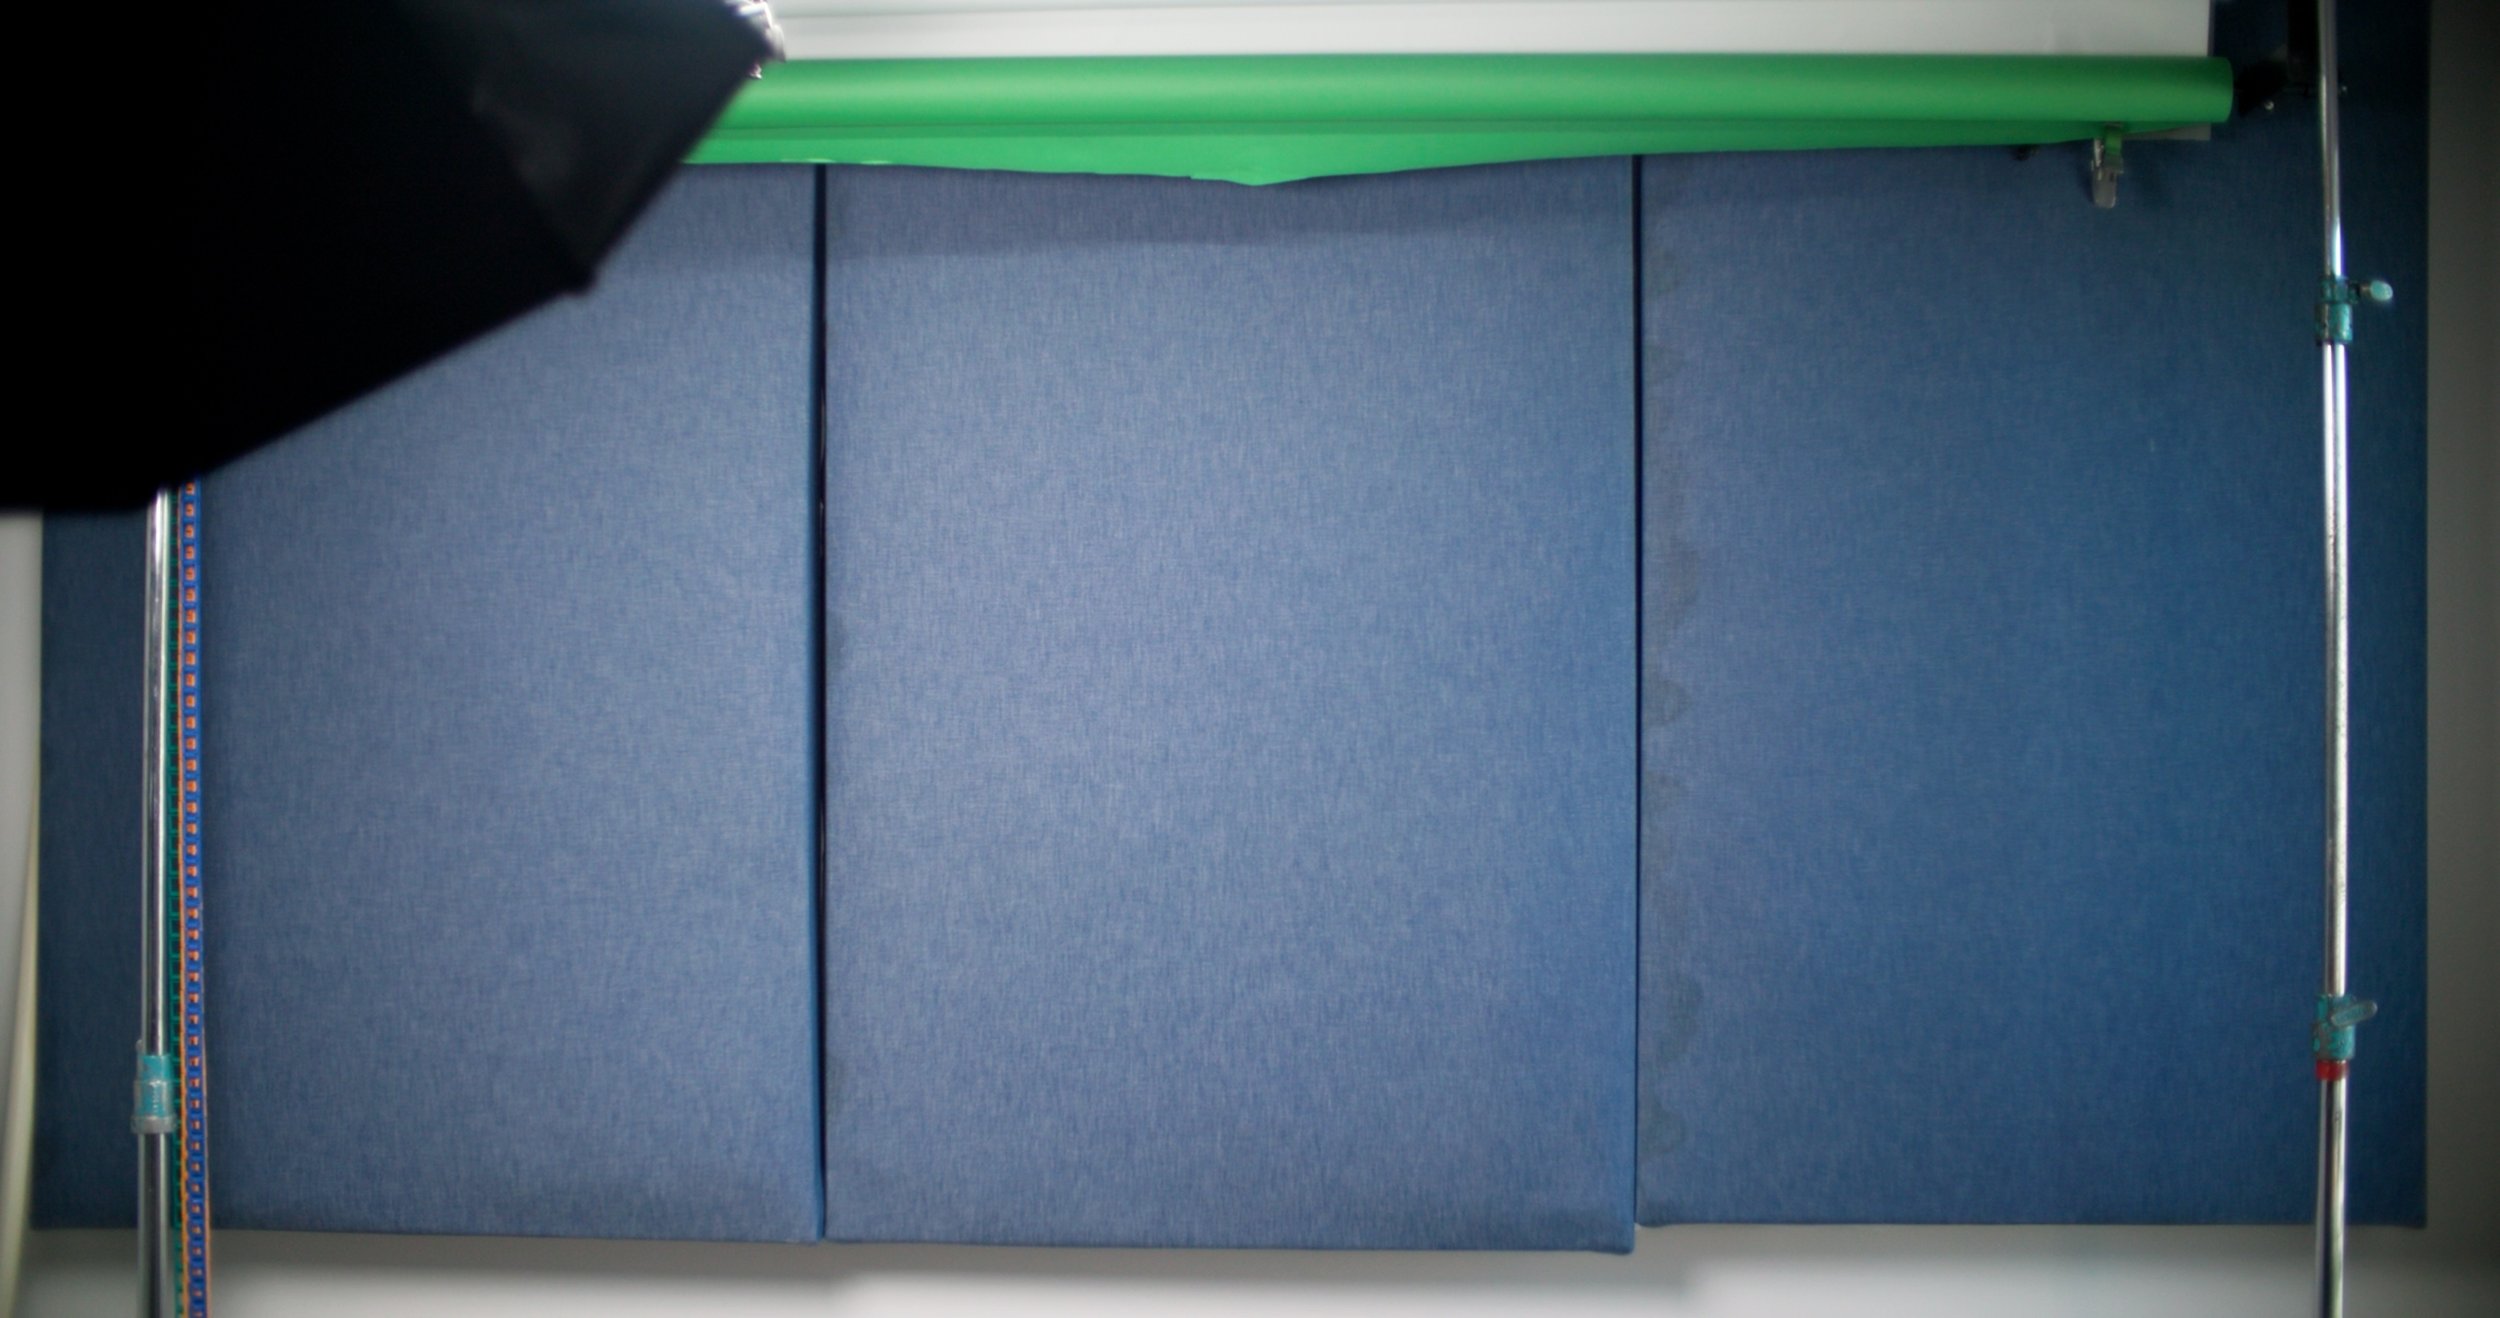
Result


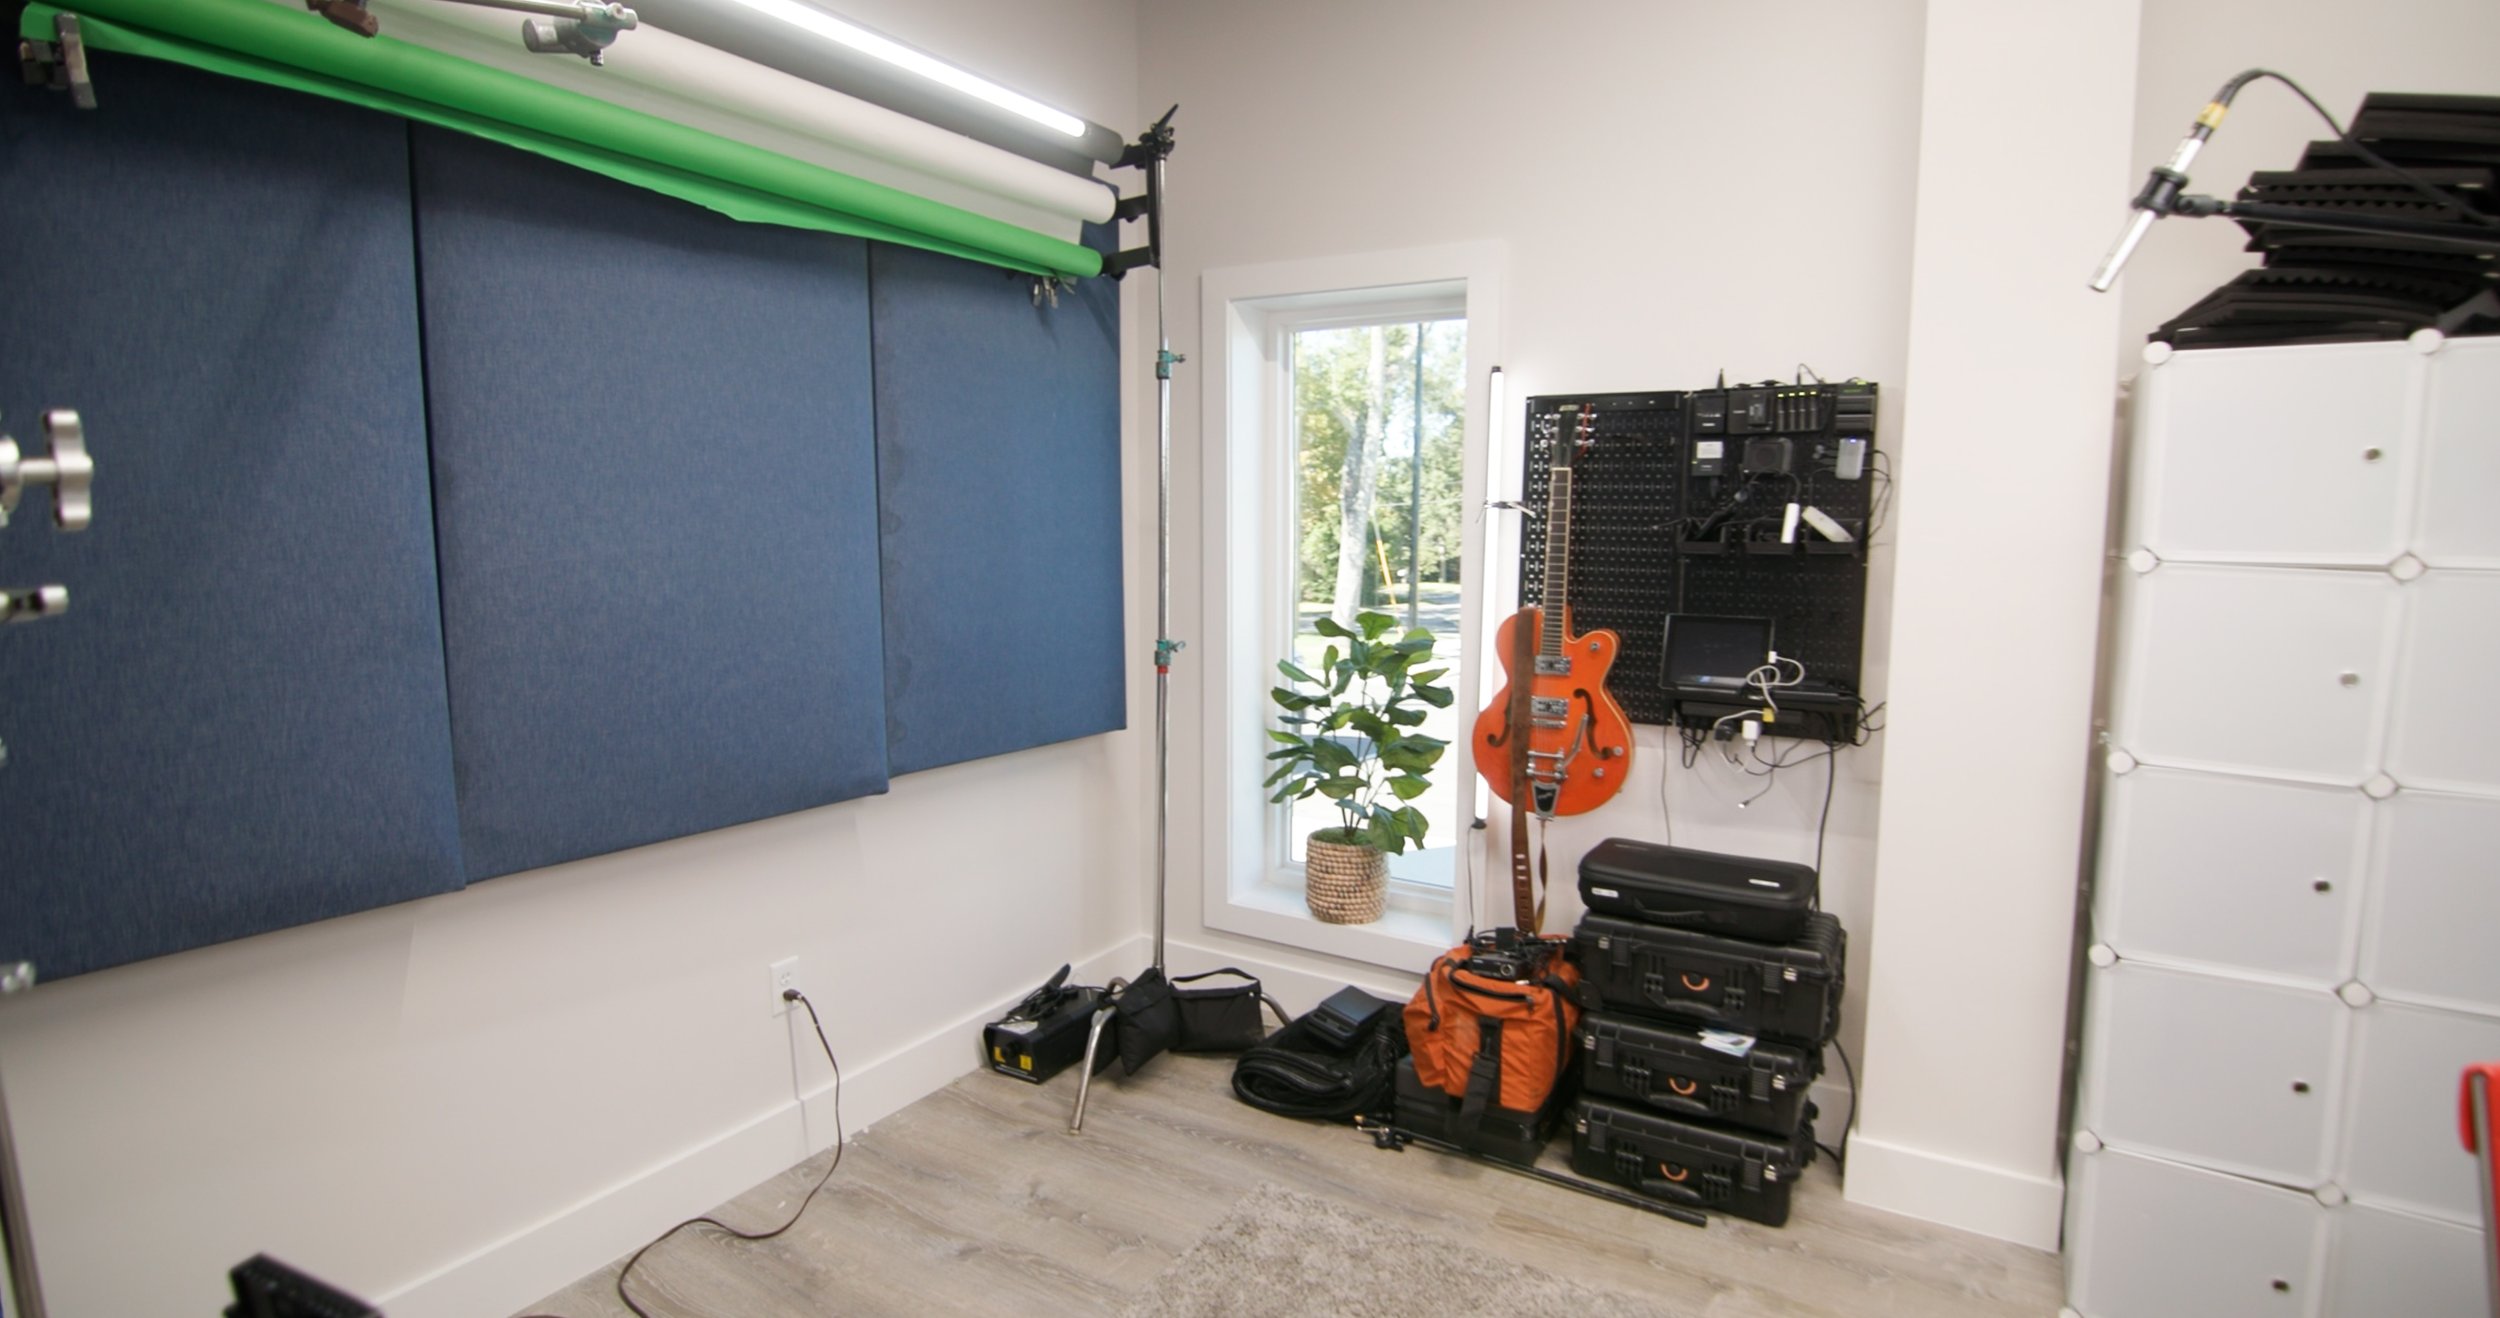
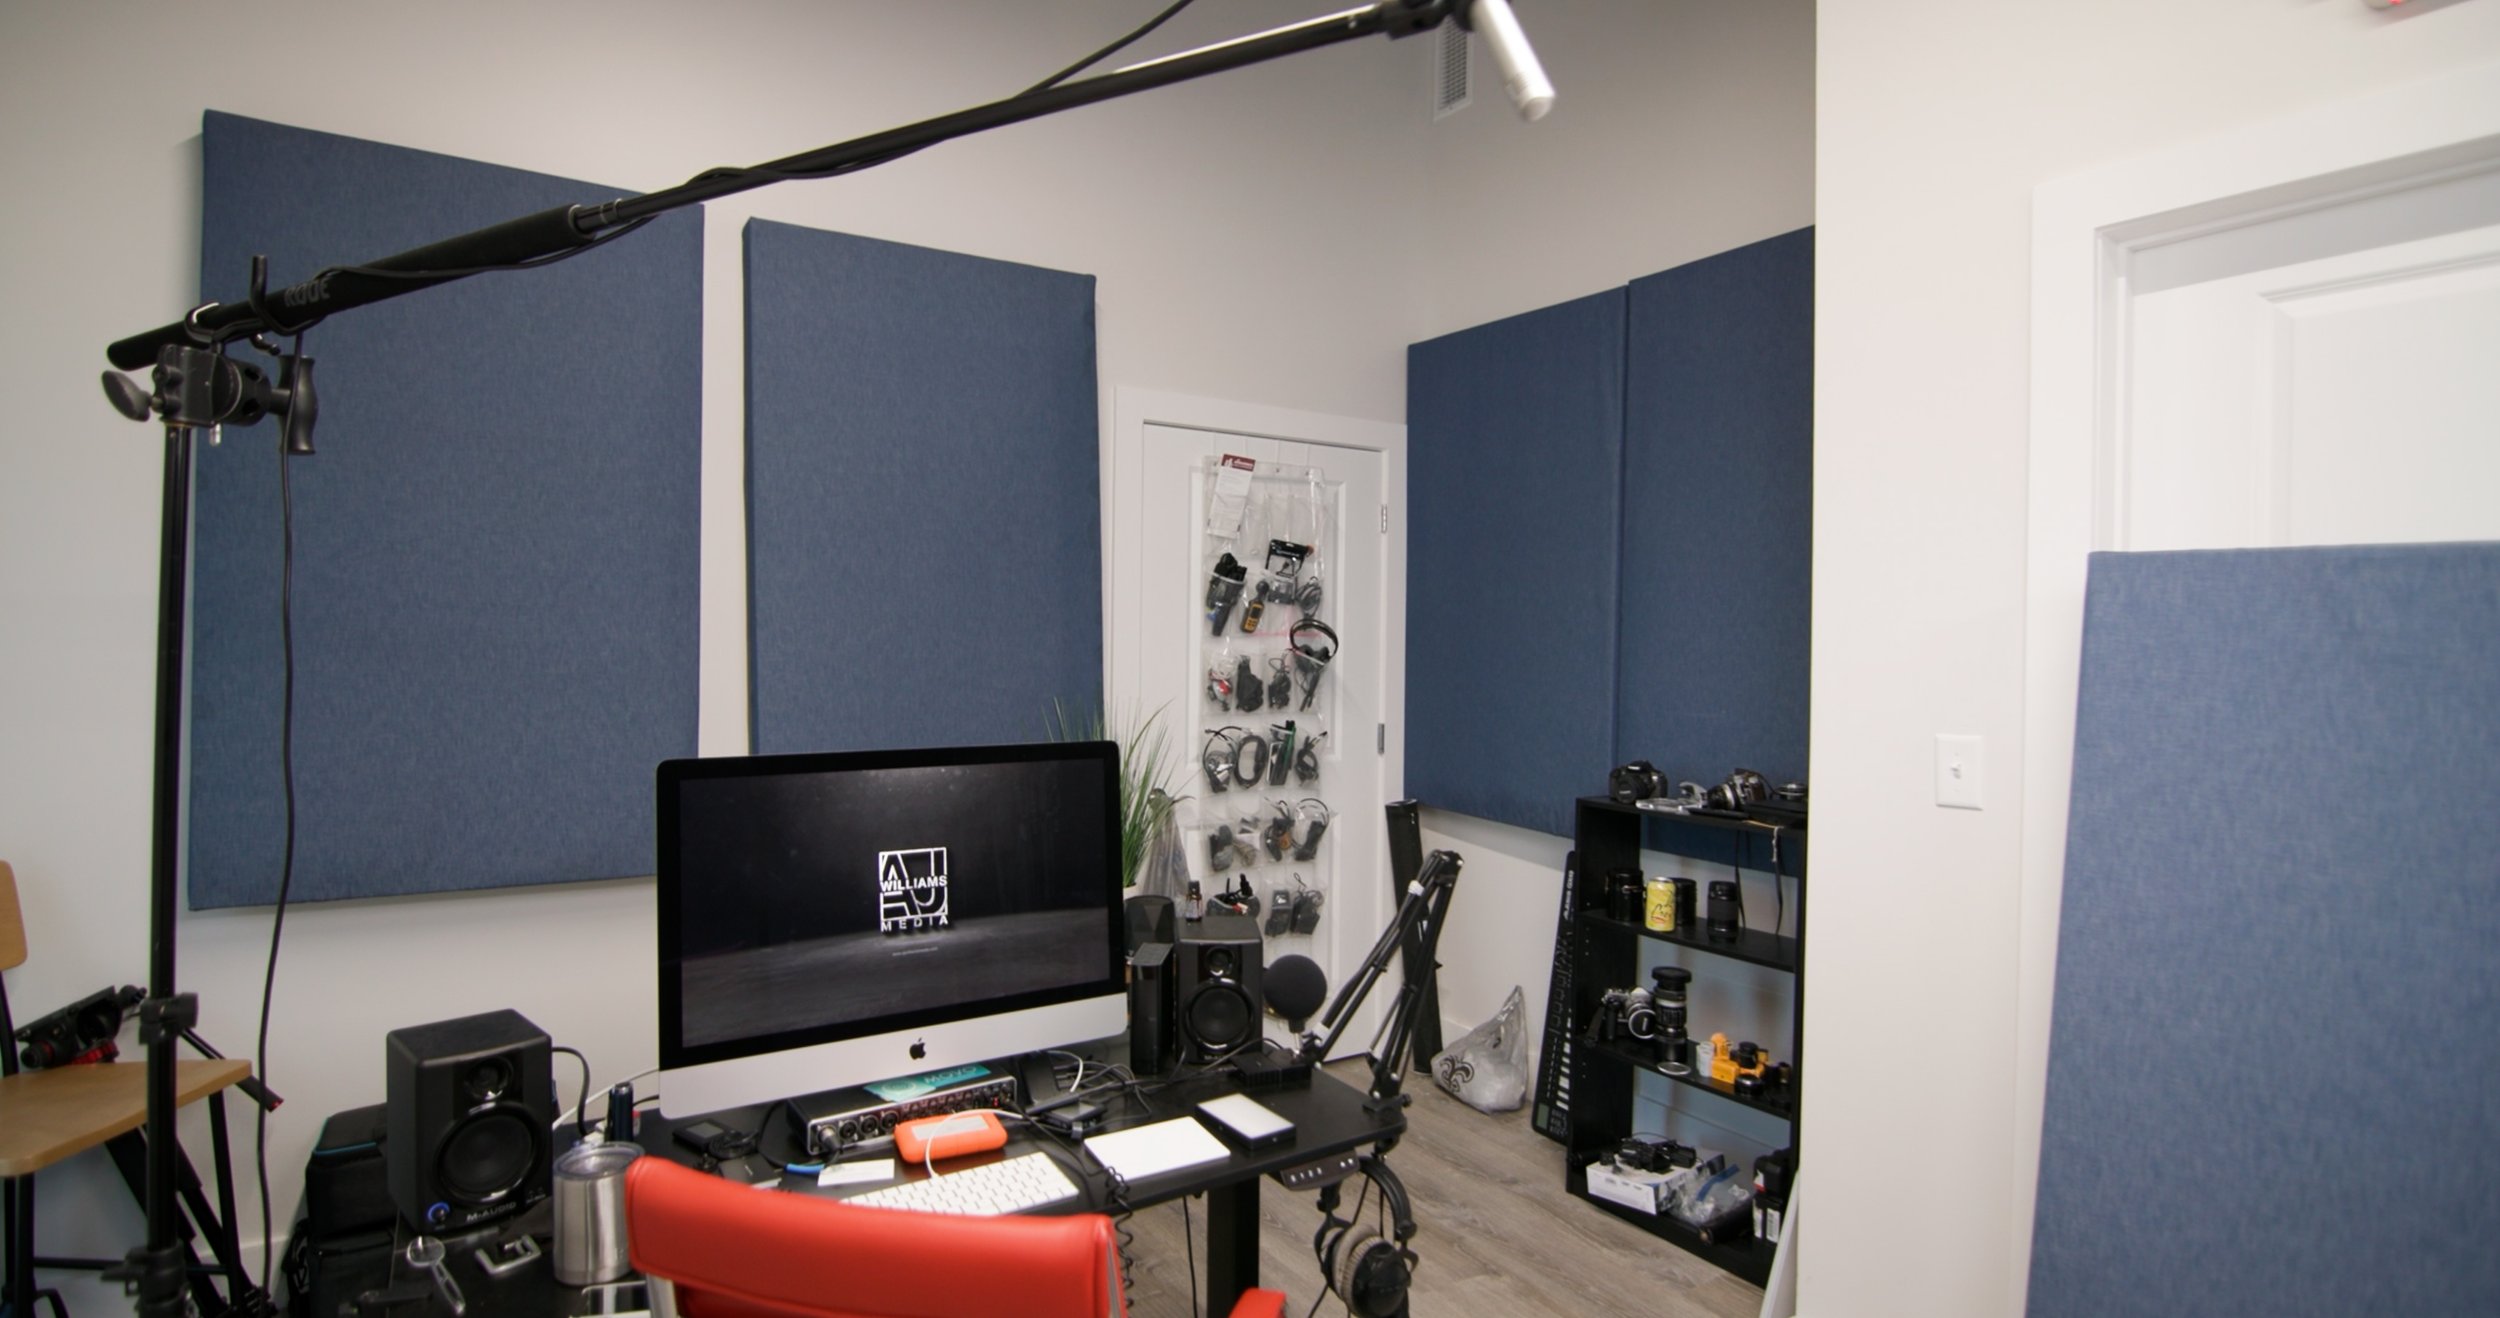
I’d love to see your D.I.Y. sound panels! Let’s connect on social media.
5 Ways to Supercharge
Your Social Posts
If you pick your head up and look at the way the world works today, you’ll notice a dramatic shift from just 10 years ago. It’s 2018 as I’m writing this. Ten years ago Facebook was in her toddler years. She was a meager 4-years-old. Just learning how to walk. Facebook started in 2004 and the site was, “thefacebook.com.” My! How times have changed, huh? Fast-forward to now and you’ve got 80% of the people in the United States are on Facebook. And 80% of the people that are on Facebook are on it for at least 2 hours per day. Amazing!
The digital age isn’t coming. It’s here. We are dead in the middle of the biggest communication shift since the printing press. If your organization isn’t using social media as a tool and in the right way, you’re already behind the bus. But there’s hope! Reaching your audience has never been easier. When done right, your current audience will actually do a lot of the work getting you noticed! We’ve come up with a list of 5 things that you can do today to supercharge your social media presence.
5 • Show, Don’t Tell.
Throughout history, story is the way humans have relayed emotions, history, and belief systems. To show how powerful story is, for thousands of years people didn’t even write things down. They just told the stories. Tell the story of your brand, your personal story and the story of your product. As I’m typing I’m hearing the readers ask, “Are you telling me to just do testimonial posts about my products?” No, I’m not, however, saying “You should buy my product because A, B, and C” is far less effective than saying something like, “I designed this product because I saw an issue with the way X, Y, and Z.” You can, use a testimonial or two. There are three ways you can use story in a social media post:
1 - Produce a video (I can help with that {wink, wink})
2 - Post a photo and long-form caption.
3 - Simply post a long-form caption.
4 • Use the Right Platform.
I see a lot of people and businesses posting content that would be great, if it were posted on a different platform. Know your social media spaces. We’ll go into this in more detail later, but here’s a quick rundown of the top three:
Facebook is the all-purpose social platform. You can basically post what you want. Just remember that it doesn’t play nice with other platforms. If you post a video, use the native player and not a YouTube or Vimeo link. Same with photos.
Instagram is for photos! Kind of. Lately instagram is more about engagement than anything. It will promote things that get a response. Stories are huge and the new long-form video suite that they just started is gaining a lot of traction right now too. If there is one thing about IG I can warn you about, it’s posting of words inside the photo. It looks “advertisy” to people and to the instagram algorithm. Take it from a team that’s been shadow-banned and released. It’s no fun.
Twitter is your place to say what you want in a short form paragraph. Lots of people love it! Use it to be quirky, let people know about sales, upcoming events. Above all, be engaging. Spark conversation and answer your following!
3 • Post Quality Content
Now that we’ve got a basic understanding of how the top three work, we can begin to know what quality content means for each. When you’ve found your niche and post consistent quality content, you’re follower base will, undoubtedly, grow.
2 • Stay Brand-Centric
This should go without saying, but keeping with a theme is a must. You’re social media followers are expecting, they’re waiting for, what only you can bring them. They want to see the story arc or type of content that you’ve established. Pro-tip: remember that it’s a story arc and that you can change the type of content over time. Don’t make drastic changes to the type of content you provide so fast that your audience can’t follow. They’ll end up falling off the bandwagon.
1 • Stay Consistent
Consistency is the most important thing you can do. In all honesty, if you can nail this one down and forget the rest, you’ll end up with a killer following! Be consistent in when you post, what you post and the type of content that you post. The pro tip here is to have a calendar of what to post and when. There are plenty of apps, like Hootsuite and grum.co, to help with that.
I hope this article has been helpful. By no means am I saying that these are all the things you need to supercharge your social media posts. These are my top 5 though. What did I miss? Let me know! Send me a DM on one of my social platforms.
Looking for a different article? Check our archive by clicking the link below.
10 Premiere Pro Shortcuts
Creativity is funny. It comes in bursts, and when it hits you, it gives an energy unlike any other. An energy that inspires you to get up and start making that idea or concept happen. It happens to me all the time. I’ll get an idea and I have to write it out, draw on a napkin, or jot some notes in my phone. Sometimes I’ll even get started on a basic project. Nothing too time consuming. I’ll just set up a few guiding points and put enough in the project to remind me of the idea when I have the time to come back to it. Sound familiar? Of course it does. Why? Because a project worth doing is worth doing well.
We want to be able to take our time and apply that time to making the best product that we can. There’s nothing worse then sitting down to create a video project and realizing that it’s going to take double or triple the amount of time that you thought! All because you don’t know how to quickly navigate the basic functions of your video software. That’s why I created this list of my 10 favorite premiere pro shortcuts. You can start using these immediately to cut down on the time you spend creating videos.
10 - Save
Mac: Command + S
Win: Control + S
Function: Even though premiere does a great job of auto-saving your work and it has saved me more times then I care to admit, it’s always best practice to constantly save your work. This shortcut is the one that I probably use most. I have a habit of just pressing these two buttons every time I pause for any reason. It’s really more of a stress relieving fidget for me.
9 - Navigation
Mac/Win: Shift + Left/Right/Up/Down
Function: Jump forward, backwards, to the next edit or previous edit in your timeline. The up and down arrows are based on the selected target track, so make sure you are targeting the video track you wish to jump through.
8 - Edit Tools
Mac/Win:
V = Selection tool (arrow)
C = Cut tool
Y = Slip tool
U = Slide tool
N = Rolling Edit
B = Ripple Edit
R = Rate Stretch
P = Pen tool
H = Hand tool
Z = Zoom
A = Track Select Forward
Shift + A = Track Select Backward
Function: This is the list of the mouse controlled tools that Premiere Pro offers. I debated whether or not to put all of these in my list. I, honestly, only use the top three on a regular basis, but it’s good to know them all.
7 - Nudge
Mac: Shift + Option + Left/Right
Win: Shift + Alt + Left/Right
Function: When you’ve got a clip that you need to move just a few frames forward or backward in the timeline, this is the way to go. Just select that clip and use this shortcut. You’re all set.
6 - Default Transition
Mac: Command + D
Win: Control + D
Function: This shortcut applies the default transition to two selected clips. You can change your default transition by right-clicking the transition you want in the effects bin, and the duration of that transition can be changed in the general settings.
5 - Default Audio Transitions.
Mac: Shift + Command + D
Win: Shift + Control + D
Function: This shortcut applies the default transition to two (or more) audio clips. You can change your default transition by right-clicking the transition you want in the effects bin, and the duration of that transition can be changed in the general settings.
4 - Set In and Out Points
Mac/Win: I, O
Function: I use this in almost every project I edit. When you have the loop video option on, this shortcut lets you playback a selection of your timeline over and over again without having to keep resetting the playhead. The in/out shortcut is also very useful for rendering specific parts of the timeline.
3 - Speed and Duration
Mac: Command + R
Win: Control + R
Function: You can get to this menu by right-clicking the video clip and selecting it in the drop-down menu, but there has to be a better way. Good news. There is a better way! I use high frame-rate video a lot, so having this tool is a real time saver.
2 - Copy and Paste
Mac:
Copy: Command + C
Paste: Command + V
Win:
Copy: Control + C
Paste: Control + V
Function: This one might seem obvious. After all, It’s a built-in shortcut for most operating systems. Premiere takes the copy and paste function one step forward though. You may have noticed, if you’ve tried this before, that when you copy a video layer from one sequence it may or may not paste to that same layer in another sequence. That’s because Premiere Pro uses the selected target track to paste video and audio to. If you have more than one video layer selected in the copy, then the target track acts as the first layer and Premiere Pro pastes the additional layers as it was copied.
1 - Export Media
Mac: Command + M
Win: Control + M
Function: Why spend those precious seconds navigating the menu when you can get to your export window in a much more elegant way?
All of these shortcuts really add up to having a huge impact on the total time spent editing a project. They are also really great to impress those people that like to look over your shoulder as you work! Haha (I’m only kind of kidding).
What am I missing? What shortcuts do you use most often when you’re video editing?
Looking for a different article? Check our archive by clicking the link below.
50 INSANE Black Friday Deals for Creators
Black Friday is coming! I hope this video helps prepare you for a great Holiday and helps keep some money in your pocket. There are some insane deals in the list so make sure to watch to the end!


LIGHTS & Accessories


Not Necessarily Camera related, but still helpful


AFFILIATE DISCLOSURE:
The links used in the description are affiliate links. As an Amazon Associate and Adorama affiliate, I earn from qualifying purchases at no additional cost to you.